How to Make Whipped Cream
I honestly can’t think of anything that isn’t made better by adding a big, heaping spoonful of fluffy, cloud-like whipped cream. And I’m not talking about the store-bought kind…I mean real, homemade whipped cream. Once I learned how easy it is to make at home, I never looked back. If you’ve been using the pre-made stuff your whole life, trust me, you NEED to try making it from scratch. It’s too easy and too good not to.
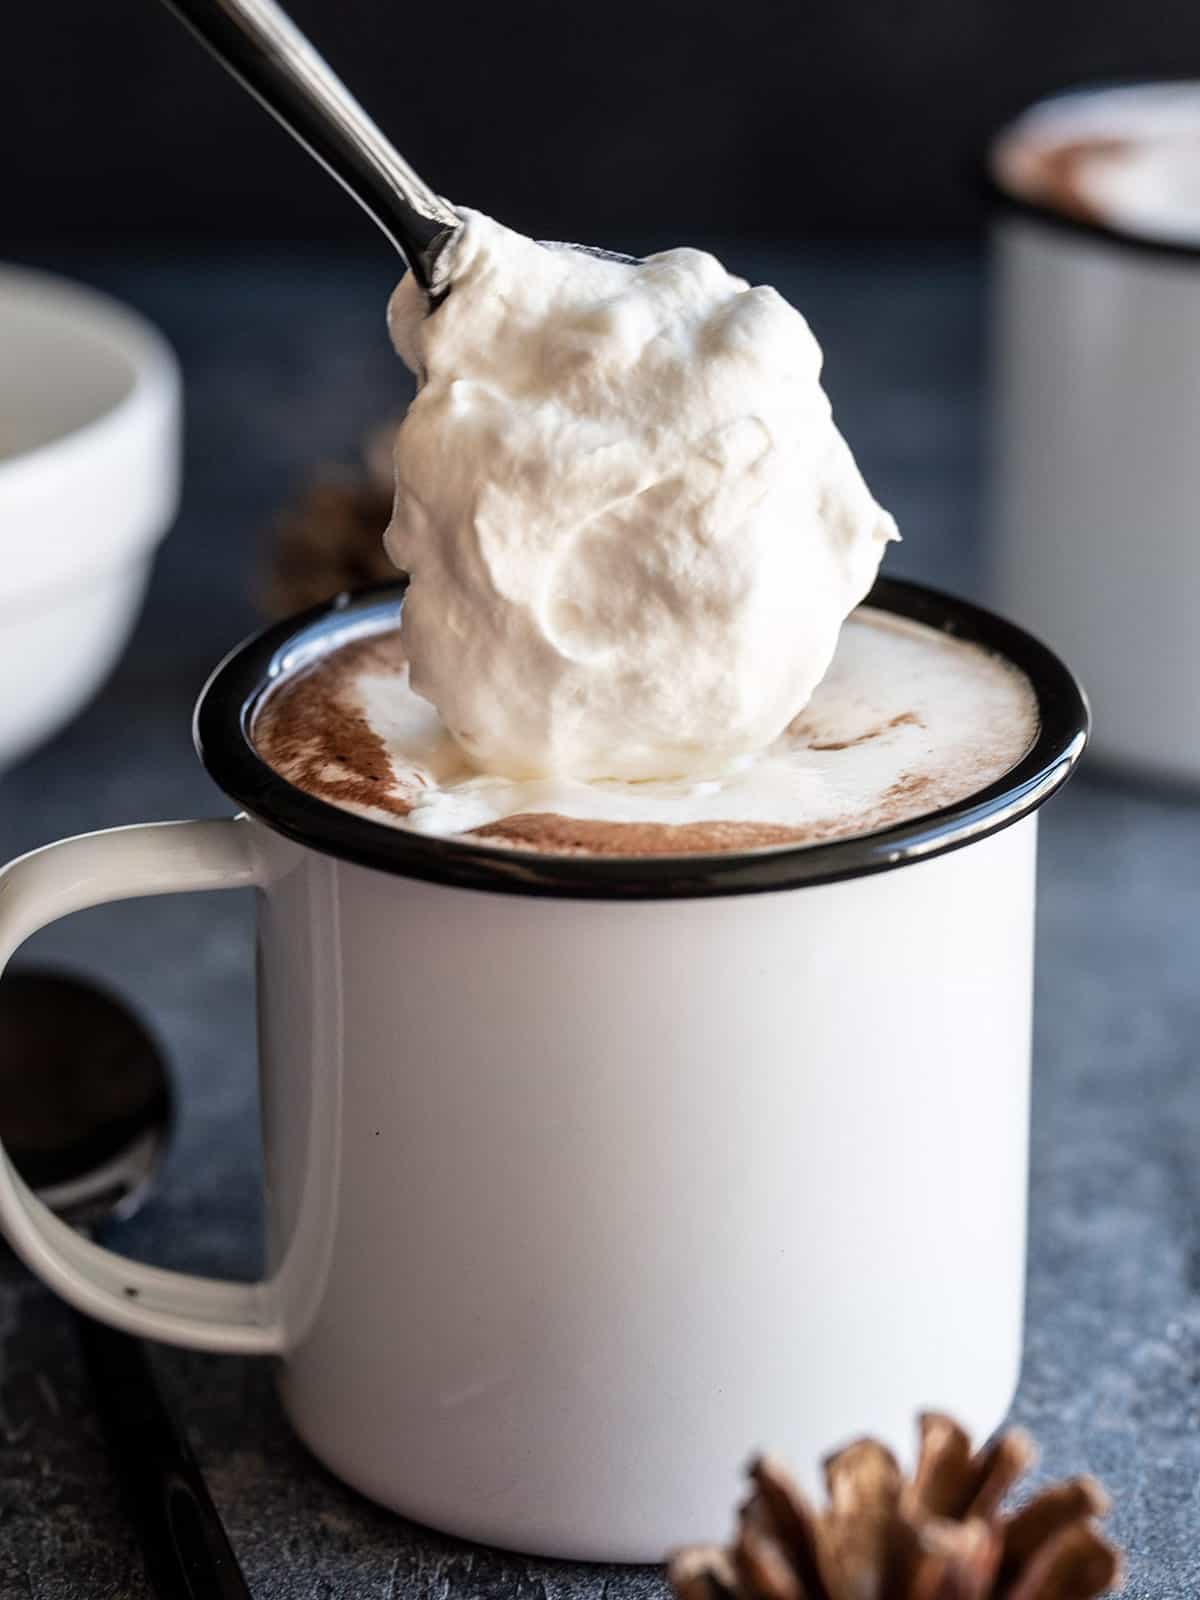
“Just whipped this up 😉 It took two minutes and tastes delicious! Enjoying a cup of coffee topped with whipped cream now. Thank you for the recipe!”
Emily
Easy Recipe for Homemade Whipped Cream
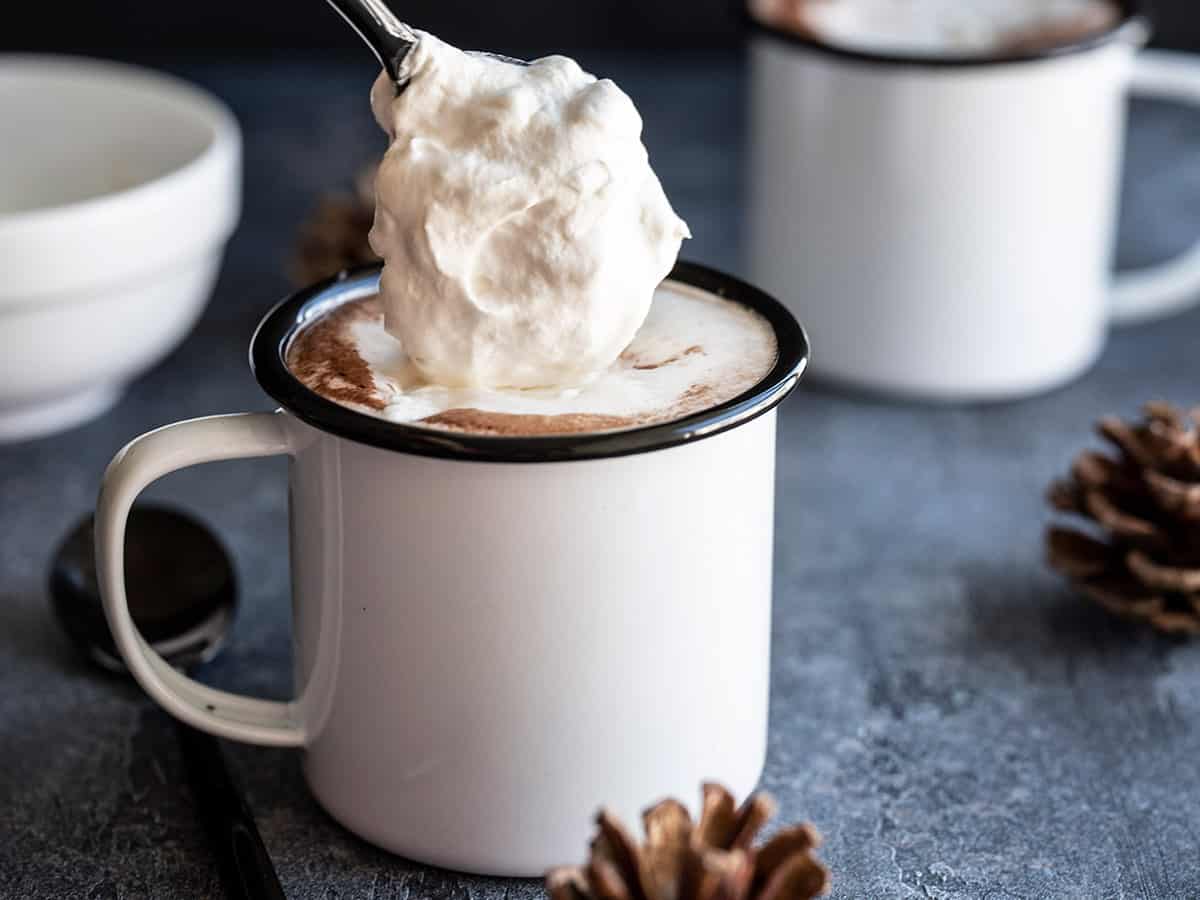
This homemade whipped cream recipe requires only three ingredients, takes minutes to make, and is the smoothest, creamiest dream you’ve ever tasted. Please promise me you’ll try it, at least once! I love to pile it onto mugs of hot cocoa, baked goods, fresh fruit salads, and other delectable desserts because, honestly, I’ll take any excuse to make a batch. It’s also a great way to use up any leftover heavy cream sitting in your fridge before it goes bad. No waste, and you save a little money in the process!
Homemade Whipped Cream
Cost $2.02 recipe / $0.25 serving
Ingredients
- 2 Tbsp granulated sugar ($0.04)
- 1 tsp vanilla extract* ($0.30)
- 1 cup heavy cream or heavy whipping cream, chilled** ($1.68)
Instructions
-
Add the sugar, vanilla, and heavy cream to a glass or metal bowl. Use a hand mixer or stand mixer*** to whip the cream on high until medium or stiff peaks form (depending on your preference, about 2-3 minutes). Stop the mixer occasionally to test the stiffness of the peaks, to avoid over whipping.
See how we calculate recipe costs here.
Notes
**Use cream labeled “heavy cream” or “heavy whipping cream,” which is 36% fat. “Whipping cream” can be as low as 30% fat and may not whip up as well. Keep your cream chilled for the best results.
***This can be done by hand. If whipping by hand, it can help to pre-chill your bowl and whisk. That being said, it’s a lot easier if you have a hand mixer or stand mixer. It takes me about five minutes to whisk by hand but only about two minutes to do it using a basic hand mixer.
Nutrition Information
 Have you tried this recipe?Mention @budgetbytes or tag #budgetbytes on Instagram!
Homemade Whipped Cream Recipe Step-by-Step Photos
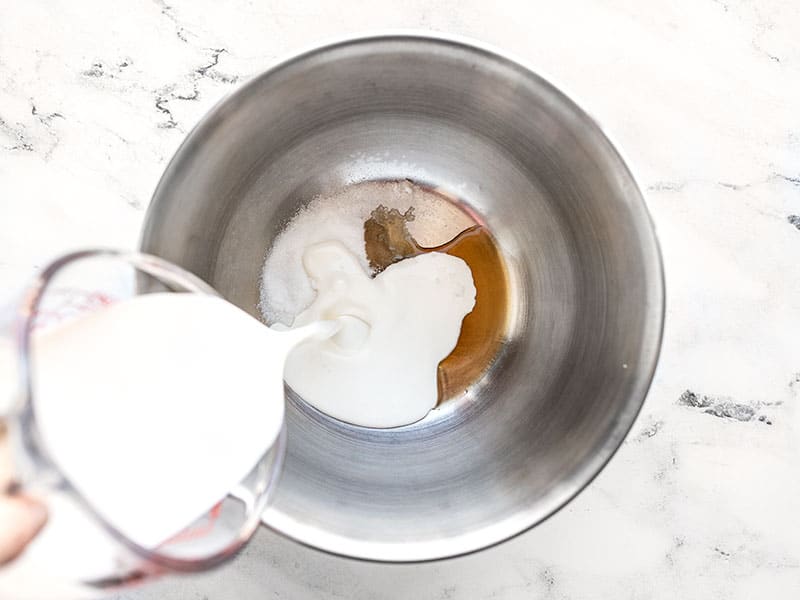
Combine the ingredients: Add 2 Tbsp granulated sugar, 1 tsp vanilla extract, and 1 cup cold heavy cream to a bowl. If you’re going to be whipping by hand, pre-chilling the bowl in the freezer will make the task a lot easier.
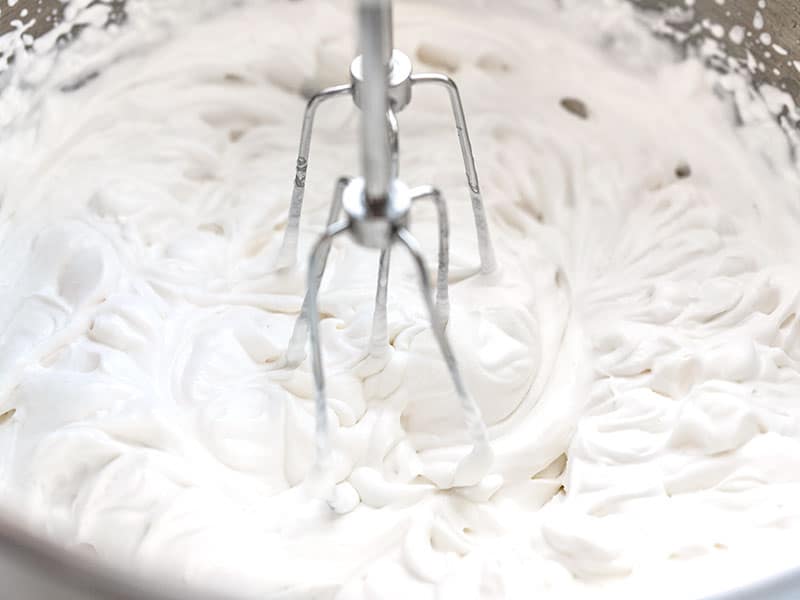
Whip the cream: Use a hand mixer or stand mixer to whip the cream on high for about 2-3 minutes, or until medium or stiff peaks form. Whether you want the cream to be softer or stiffer is a personal preference. I like mine slightly on the soft side for pies, a little more stiff for hot cocoa.
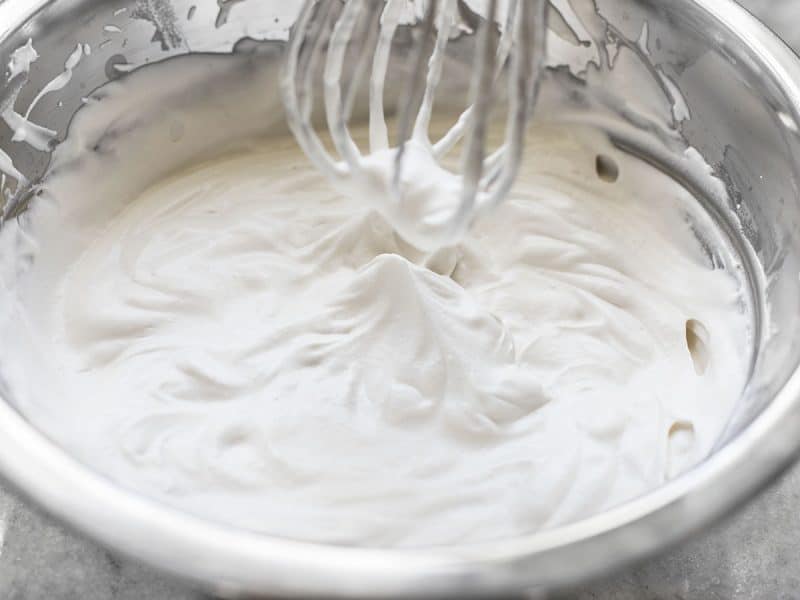
As you whip the cream, occasionally lift the whisk or beaters out of the cream to see how stiff the peaks are. If they slump over, they are soft peaks, if they bend slightly they are medium peaks, if they stand straight up they are stiff peaks. Do not whip past stiff peaks or the cream will begin to separate and you’ll make butter.
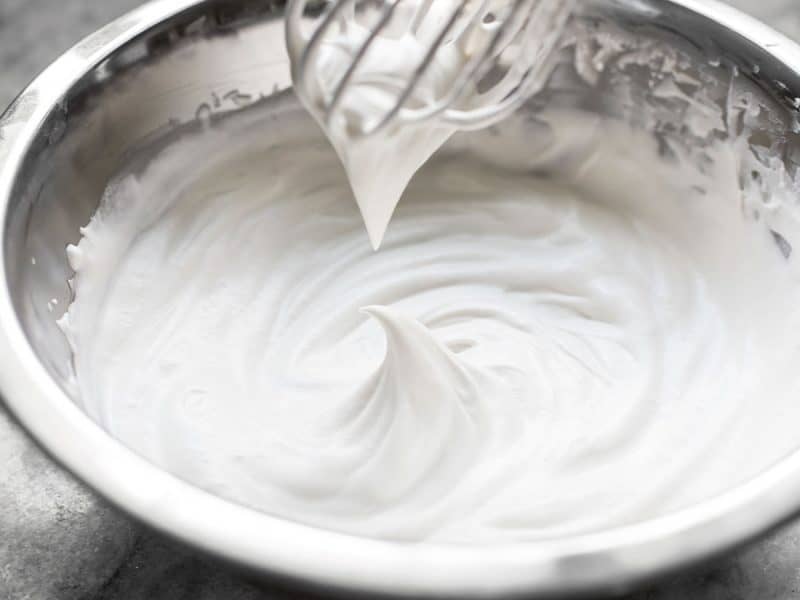
Medium peak whipped cream pictured above.
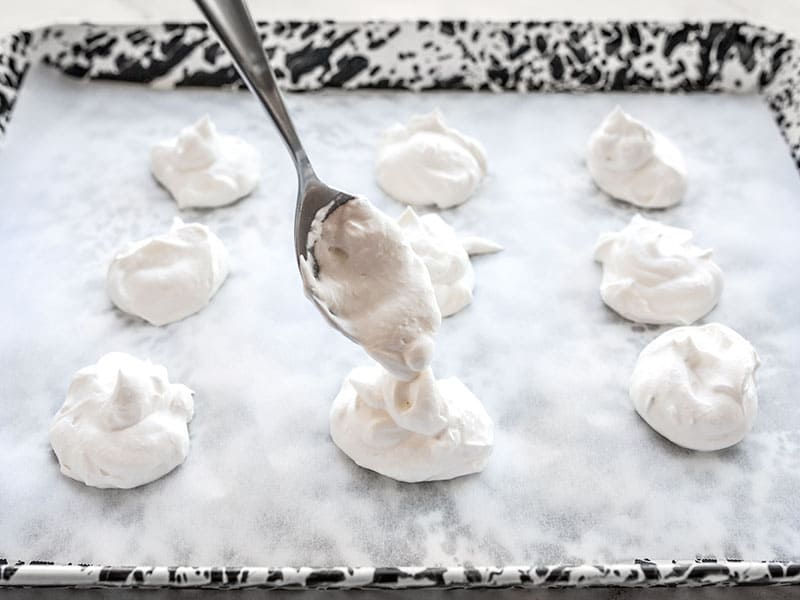
Freeze (optional): If you want to freeze your leftovers, line a baking sheet with parchment paper, then drop dollops of the whipped cream on top (about the size that you’d use for serving). Freeze them on the baking sheet until the little mounds are solid.
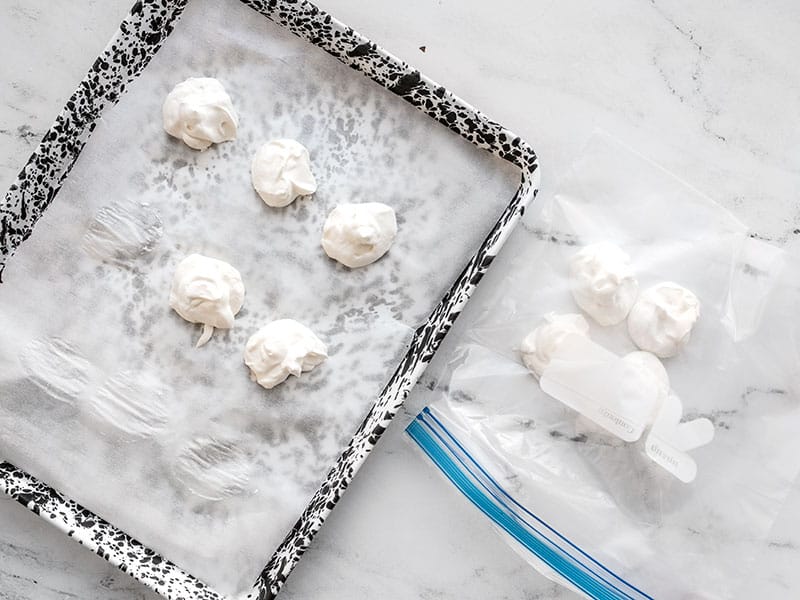
Then once frozen solid, transfer them to a freezer bag for air-tight long term storage. You can keep them in your freezer for about three months. Either pop them directly onto a hot mug of cocoa or coffee, or let them thaw at room temperature for about 10 minutes.

I’m tellin’ y’all. Homemade whipped cream is where it’s at!!
Recipe Success Tips!
Making whipped cream is pretty fast and easy, but here are a few tips and tricks to make sure it turns out perfectly every time!
- Use heavy whipping cream, not just whipping cream, because it has more fat and will whip up more easily.
- Use a chilled glass or metal bowl to whip the cream. The cream will whip up faster when the proteins and fat are kept cold while whisking.
- Don’t over whip. If you keep whipping past the point of stiff peaks, the proteins will begin to clump and your cream will separate (that’s how you make butter!). I usually stop when the cream is whisked to medium or medium-stiff peaks. Leaving it slightly soft makes for pretty dollops.
- If you accidentally over whip the cream, it can be recovered by folding in a tablespoon or two of fresh cream until it becomes smooth once again.
Serving Suggestions
Everything is better with a dollop of homemade whipped cream, IMHO! But here are some of my favorite desserts that are traditionally served with whipped cream:
- Hot chocolate
- Pumpkin pie or Pumpkin pie bars
- Chocolate Cream Pie
- Sweet potato pie
- Strawberry shortcake
- Vanilla pudding, Chocolate pudding, or Banana pudding
- Strawberry rhubarb pie
- Peach crisp
- Your favorite coffee drink!
Storage Instructions
This recipe is best when whipped fresh just before serving. Luckily, it’s so fast and easy to make that this is usually doable. If you can’t use it right away, you can refrigerate it for a day or so, but it will slowly deflate over that time. There are ways to stabilize it and make it last longer, usually by adding additional ingredients. Here’s a great article from Food52 about ways to stabilize whipped cream.
Can You Freeze Whipped Cream?
Another option for saving leftovers is to freeze it! After whipping, simply add dollops of your cream to a parchment lined baking sheet, freeze until solid, then transfer to a freezer bag for long term storage. They can be stored for about three months in the freezer. To use it from frozen, I add the dollop directly to the top of a hot mug of coffee or cocoa, or let it sit at room temperature for about 10 minutes to thaw.